HELP
How do I send my files to the Reponse Studio server?
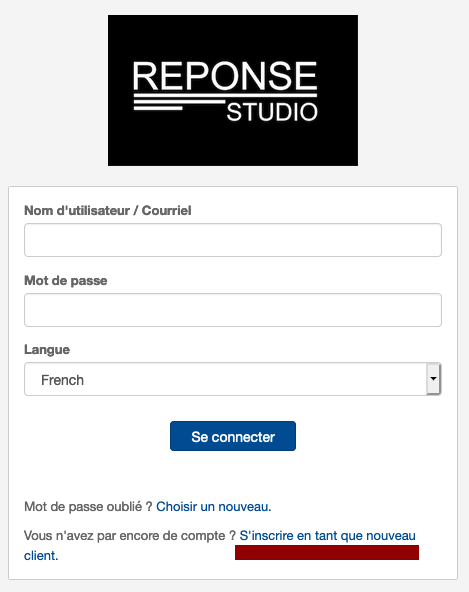
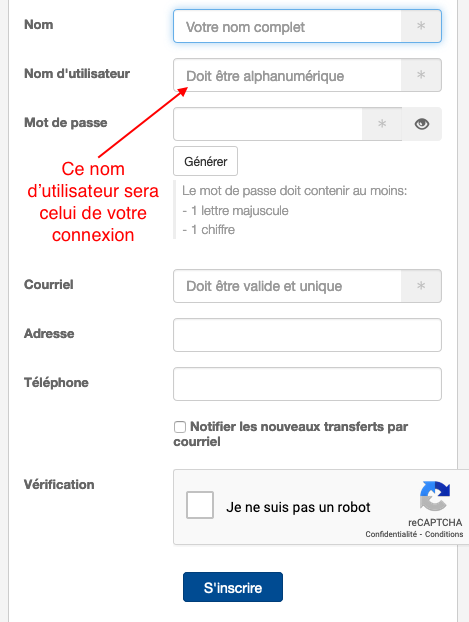
First, you will need to create an account on the server by clicking here.


You will then have to wait for the account validation this is a manual process, to ensure that the person is authorized to send files. Normally this process does not take more than a day. A welcome email will be sent to you when the account is validated.
Once this step is completed, you can connect to the server by clicking here. You will arrive on the home page.

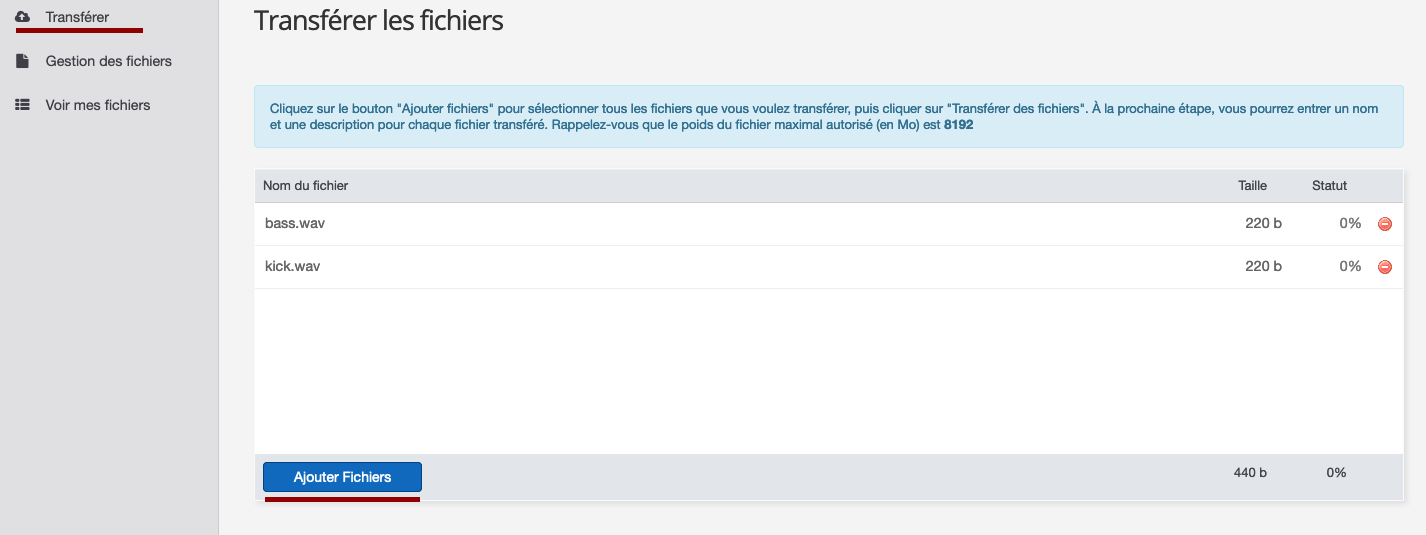
By clicking on "Transfer" a window opens so you can select your files by clicking on "Add Files". Select all of the tracks in your mix for a mix or your mixer file for mastering.

Once you have selected all the files, click on "Transfer files".

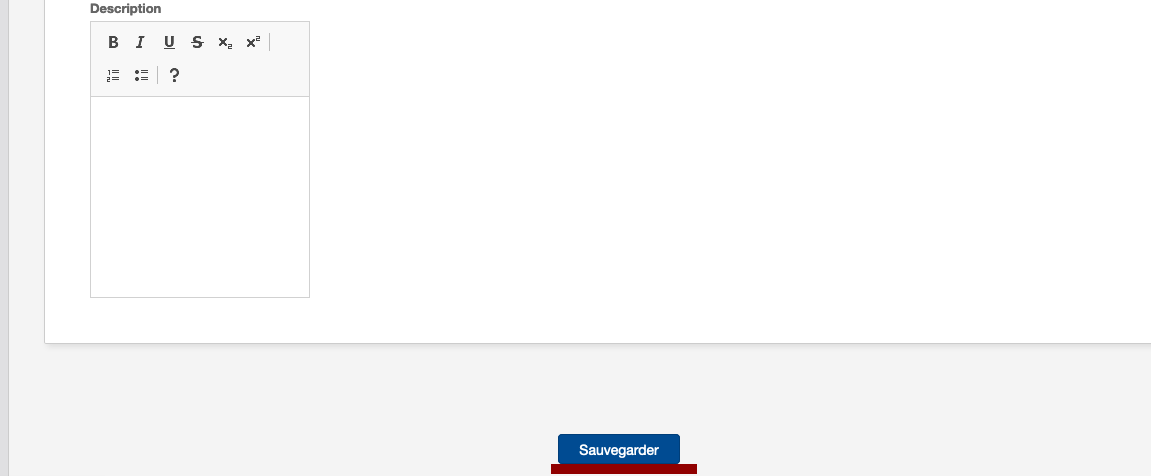
Then you can add a description for each of your files. For example, the importance of sound in the mix or if you would like this sound to remain as natural as possible, etc.
The "File expires" setting does not need to be selected. Remember that you can do this for each of your sounds by scrolling down the page

Then go to the bottom of the page to save your information.

So I will be notified when your files have been sent and I will be able to start mixing or mastering.
You can without further modify the information you have entered by clicking on "File management" in the right column in the action tab.


PROFESSIONAL RECORDING STUDIO
MASTERING - MIXING - COMPOSITION - RECORDING - SOUND DESIGN - SOUND IDENTITY - ADVERTISING - MOVIE - PRESENTATION
Copyright ©2020 REPONSE STUDIO - all rights reserved - Logos Promenade noire - Pictures - All musics REPONSE STUDIO - Web site creation REPONSE COMPUTER Cookie Policy & terms and conditions
Copyright ©2020 REPONSE STUDIO - all rights reserved - Logos Promenade noire - Pictures - All musics REPONSE STUDIO - Web site creation REPONSE COMPUTER Politique sur les cookies
Copyright ©2020 REPONSE STUDIO - all rights reserved - Logos Promenade noire - Pictures - All musics REPONSE STUDIO - Web site creation REPONSE COMPUTER Politique sur les cookies